


How to Power Starlink Off Grid: The Ultimate 2026 Energy Guide
Reliable internet used to be the one thing holding travelers back from staying off-grid indefinitely. With the rapid expansion of the Starlink satellite constellation in 2026, high-speed connectivity is now available in the most remote corners of the globe. However, the hardware requires a consistent and beefy power source to maintain those gigabit speeds. If you are planning a boondocking trip or building a remote cabin, understanding how to power Starlink off grid is the difference between a seamless digital nomad lifestyle and a frustrating blackout.
Understanding Starlink Power Consumption Across Different Models
Before sizing your battery bank, you must identify which Starlink kit you own, as power requirements vary significantly between generations. In 2026, most users are operating with the Gen 3 Standard or the highly portable Starlink Mini. The Gen 3 Standard typically draws between 75W and 100W during active use, while the Starlink Mini is far more efficient, averaging only 20W to 40W.
Environmental factors play a massive role in energy drain. If you are in a cold climate and enable the Snow Melt mode, your dish can spike to over 150W to generate enough heat to clear the surface. For off-grid users, keeping this setting on Automatic or Off is essential to prevent unexpected battery depletion overnight.
Top 5 Ways to Run Starlink Internet Systems Off Grid
There are several proven methods to keep your Starlink dish running when you are far from a wall outlet. Each method offers a different balance of efficiency, cost, and complexity.
1. Portable Power Stations for Plug and Play Simplicity
The easiest way to power Starlink off grid is using a portable power station. These units combine a lithium battery, an inverter, and a solar charge controller into one box. You simply plug the Starlink AC cable into the station’s outlet. While convenient, the internal inverter usually wastes about 15% to 20% of the energy through heat conversion, making this the least efficient but most user-friendly option.
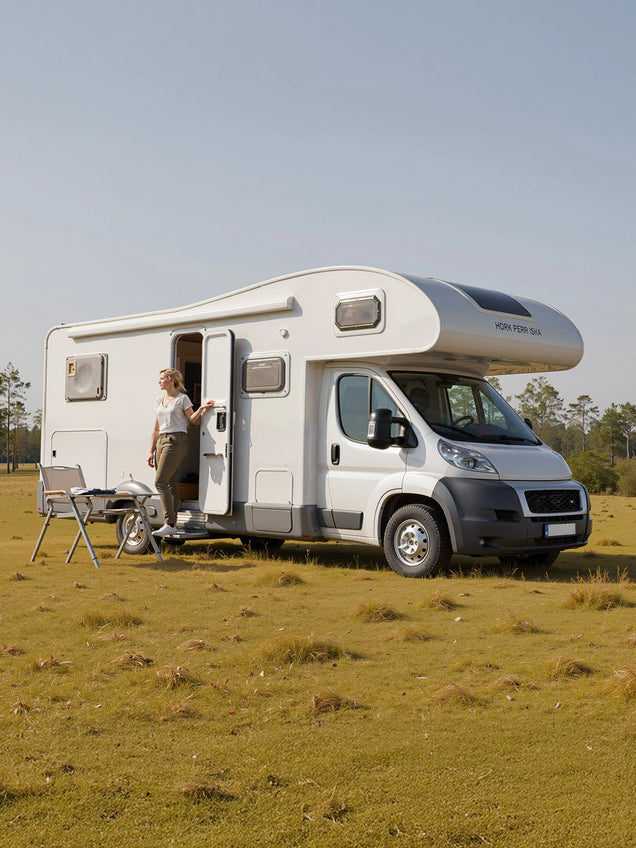
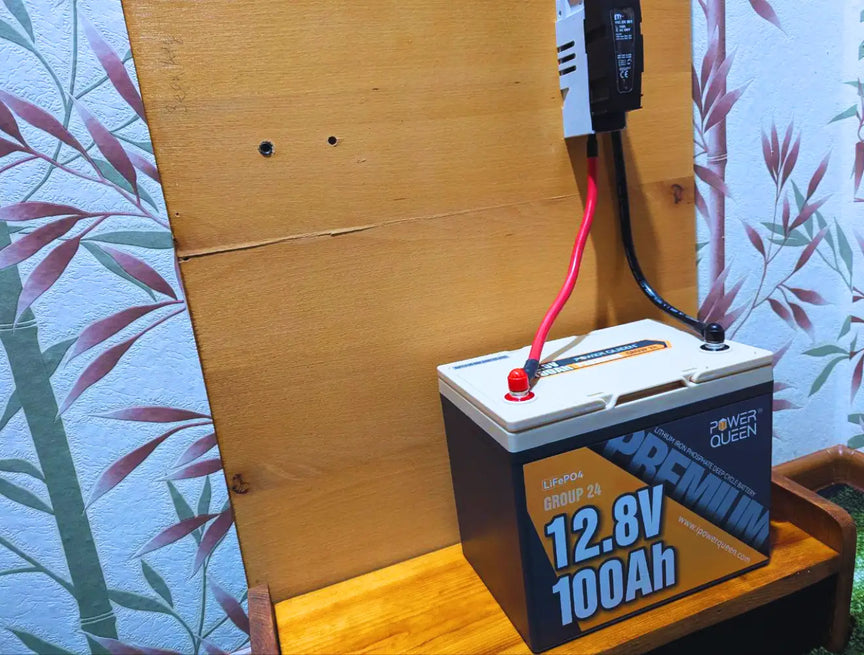
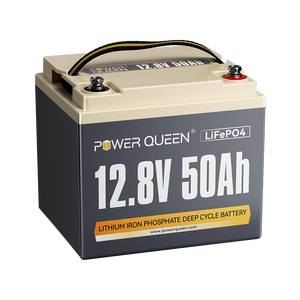
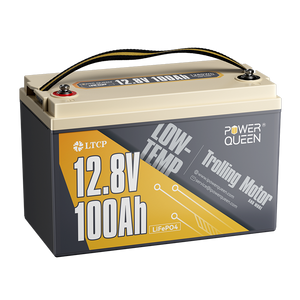
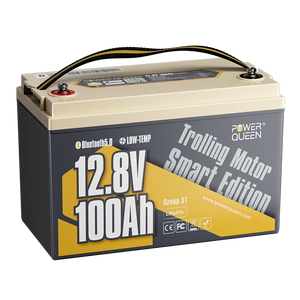
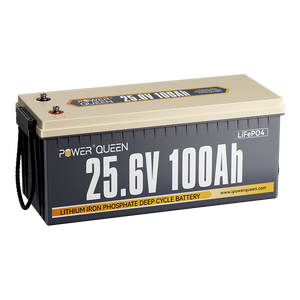
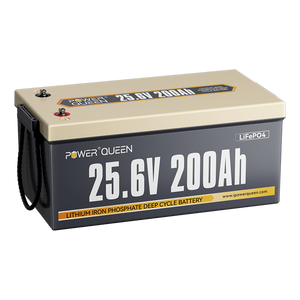
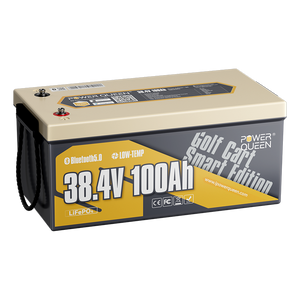
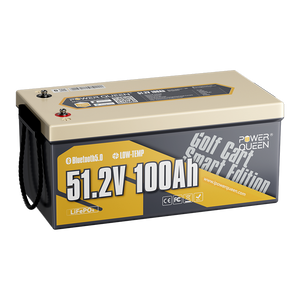
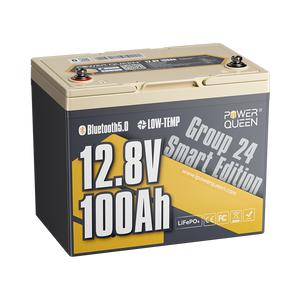
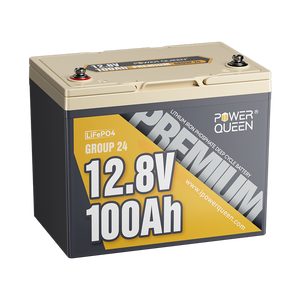
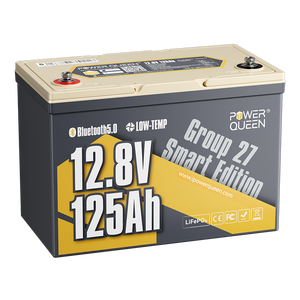
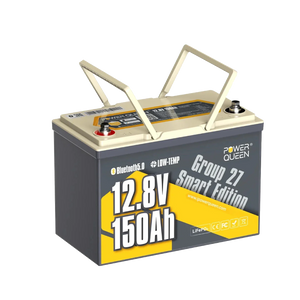
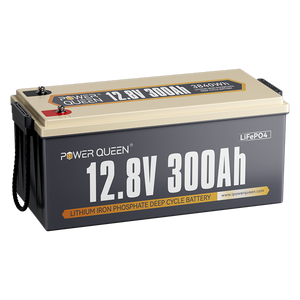
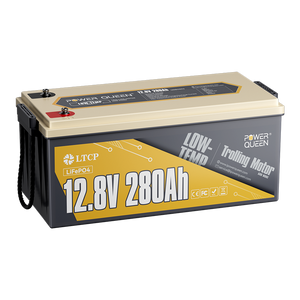
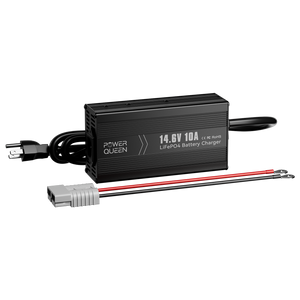
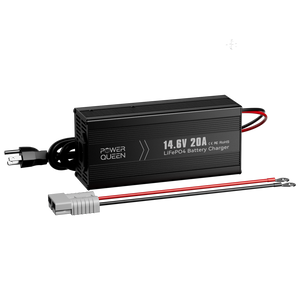
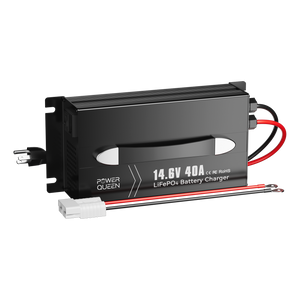
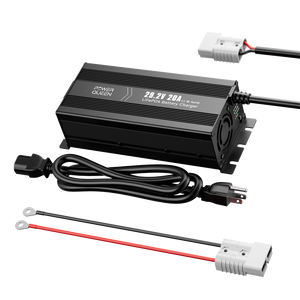
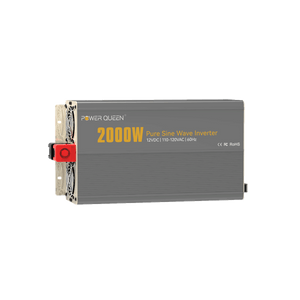
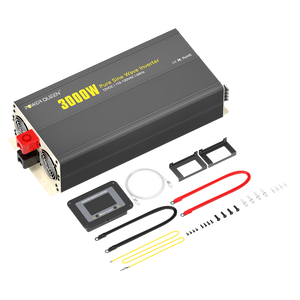
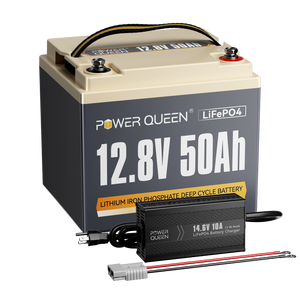
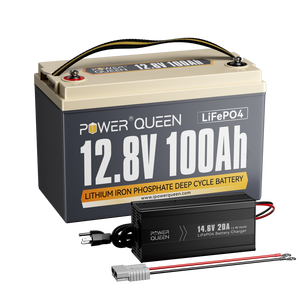
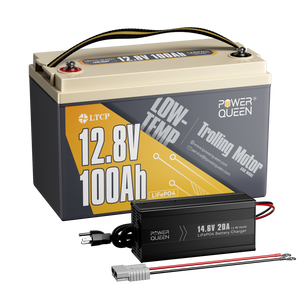
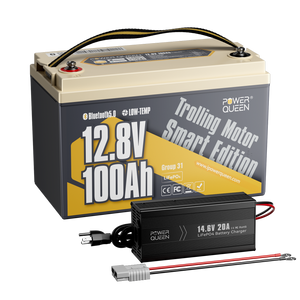
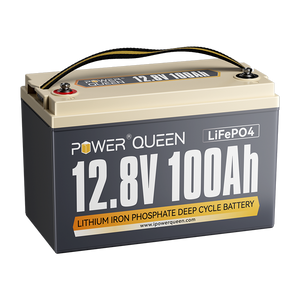
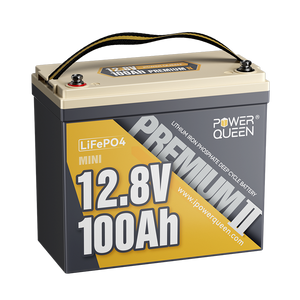
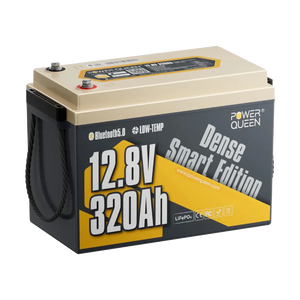
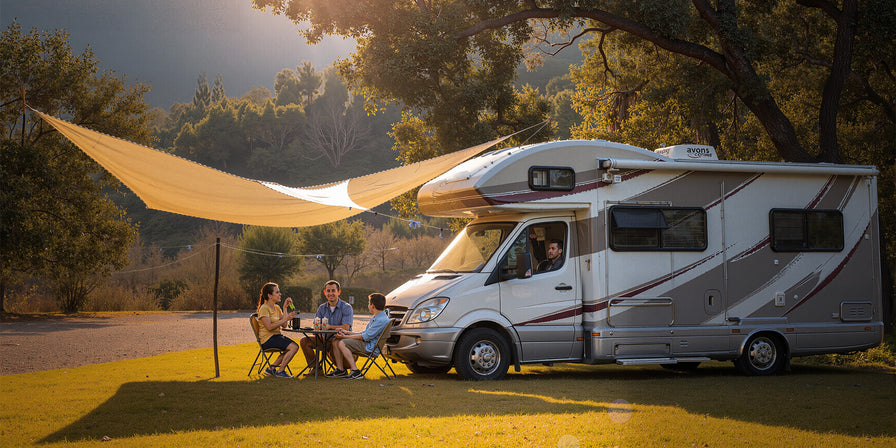
2. Dedicated LiFePO4 Battery Banks for Maximum Runtime
For serious RVers and van lifers, a dedicated LiFePO4 battery bank is the gold standard. Lithium Iron Phosphate batteries, especially premium options like Power Queen’s 12V 100Ah series, offer a 100% depth of discharge and consistent voltage.
By connecting your Starlink to a reliable Power Queen system, you gain a massive energy reserve that can run a Starlink Mini for days or a Standard dish through a long weekend without the "low voltage anxiety" common with lead-acid alternatives.
Read More: What Is a LiFePO4 Battery? Everything You Need to Know.

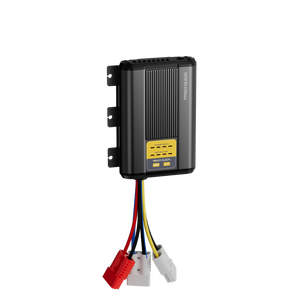
3. Direct DC to DC Conversion for High Efficiency
This is the "pro" method for off-grid enthusiasts. Instead of using an inverter to turn 12V DC into 120V AC only for the Starlink power brick to turn it back into DC, you use a DC-to-DC step-up converter. Converting 12V or 24V directly to the 48V-56V required by the dish can save you up to 25% in total energy loss.
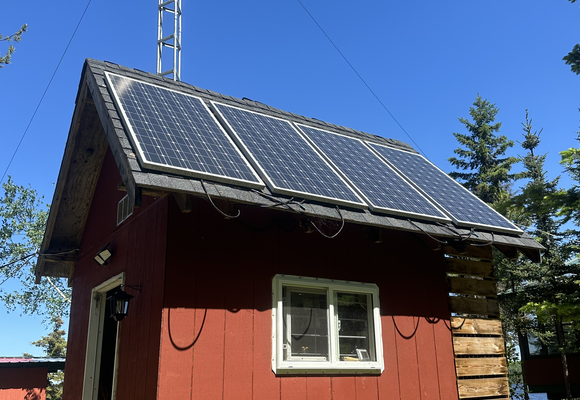
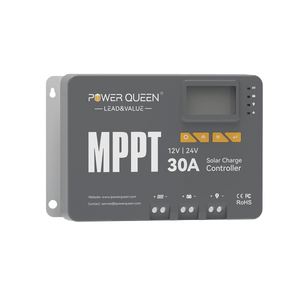
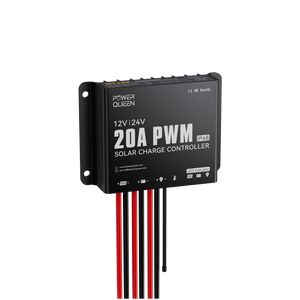
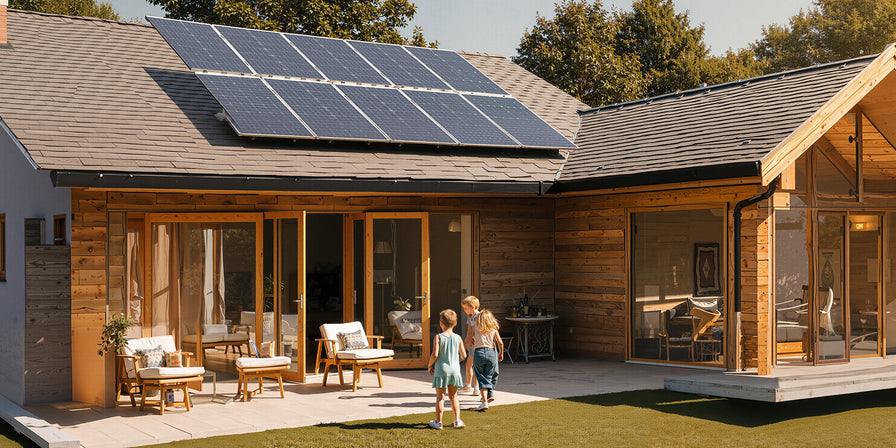
4. Solar Generator Kits for Continuous Power
A solar-integrated setup uses panels to charge your batteries during the day while the Starlink is in use. To run a Gen 3 Standard dish 24/7, you generally need at least 300W of solar panels and a 200Ah lithium battery to account for cloudy days and nighttime usage.
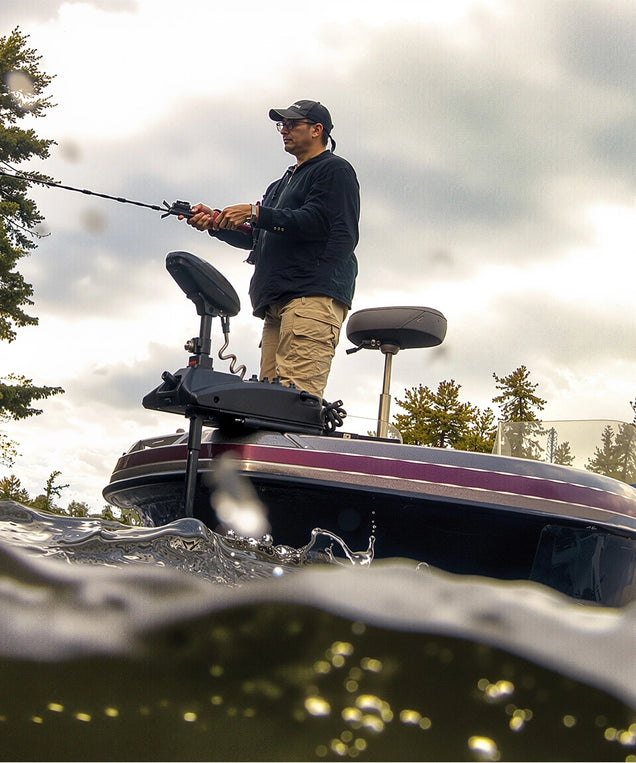
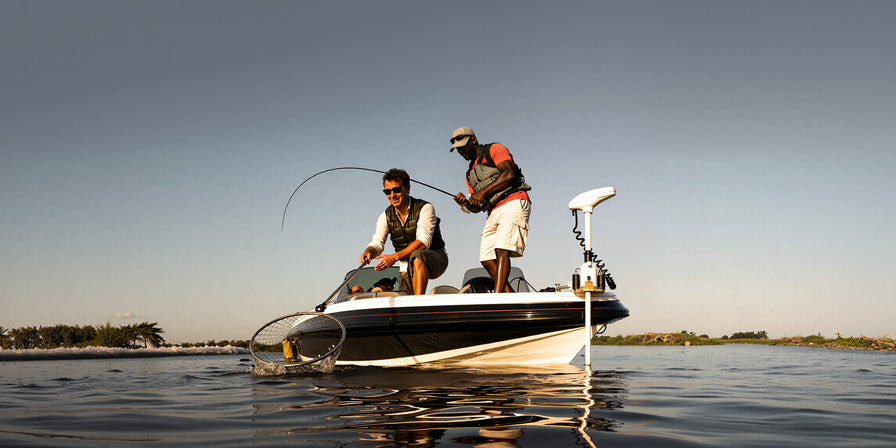
5. Vehicle Integrated Power for Short Trips
If you only need internet during the day while traveling, you can tap into your vehicle’s alternator or starter battery. However, because Starlink has a high startup surge of 10-12 amps, you must ensure your wiring is thick enough (12 AWG or better) to prevent voltage drops.
How to Calculate Your Daily Starlink Energy Budget
Calculating your needs is simple math. To find the watt-hours (Wh) required, multiply the average wattage of your dish by the hours you plan to use it:
To convert this to Amp Hours (Ah) for a standard 12.8V LiFePO4 battery:
Always add a 20% safety buffer to account for signal searching and cable resistance. For this scenario, a 100Ah battery would be the perfect fit.
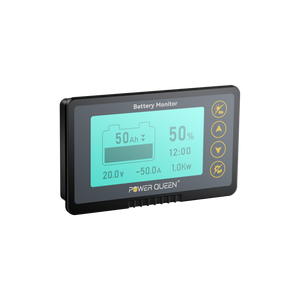
Why Voltage Stability Matters More Than Capacity
Most guides focus on how many Amp Hours you need, but they overlook the "Voltage Drop" issue. Starlink hardware is extremely sensitive to voltage fluctuations. If your battery voltage dips even slightly below 12V, the Starlink router will often enter a "reboot loop." This is why LiFePO4 batteries are superior; they maintain a steady 13V+ output until they are nearly empty.
Starlink Off Grid Hardware Comparison Table
| Feature | Starlink Mini | Gen 3 Standard | Flat High Performance |
|---|---|---|---|
| Avg. Power Draw | 25W - 40W | 75W - 100W | 110W - 150W |
| Input Voltage | 12V - 48V DC | 57V DC (via AC/DC) | 57V DC (Advanced PSU) |
| Best Battery Pair | 12V 50Ah LiFePO4 | 12V 100Ah LiFePO4 | 12V 200Ah+ LiFePO4 |
| Estimated Runtime | 20+ Hours (50Ah) | 12+ Hours (100Ah) | 16+ Hours (200Ah) |
Frequently Asked Questions About Powering Starlink Off Grid
Can I plug Starlink directly into my car's 12V cigarette lighter?
While the Starlink Mini supports direct DC input, most 12V sockets are not rated for the high startup current. It is safer to use a dedicated 12V-to-48V converter.
Does Starlink use more power when the weather is bad?
Yes. During heavy rain or snow, the dish increases its transmission power to maintain a link. Additionally, if the heater is active, consumption can double.
What is the most efficient way to run Starlink in an RV?
The most efficient method is a 12V to 48V DC-to-DC conversion kit. This allows you to bypass your inverter entirely, saving significant battery capacity.