RV Battery Not Charging? Solutions to Solve!
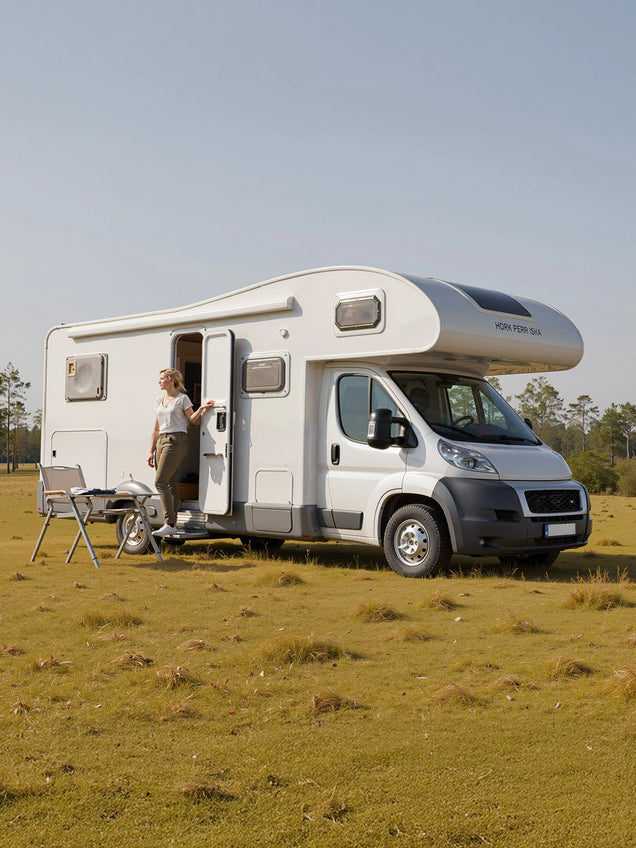
If your RV or camper battery isn't charging when it's plugged into shore power, there are some steps you can take to troubleshoot the issue before resorting to calling a costly professional.
Table of Content
- Part 1. Check the Wiring and Fuses
- Part 2. Evaluate Battery Condition for Corrosion
- Part 3. Inspect Circuit Breakers
- Part 4. Inspect the Battery Disconnect Switch
- Part 5. Check the Battery's State
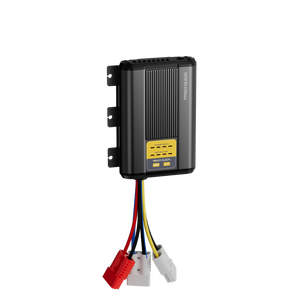
- Part 6. Evaluate the Functionality of the Power Converter
- Part 7. Malfunctioning Resistors or Diodes
- Part 8. Disruption in Shore Power Supply
- Part 9. Maintainance Tips For Your RV Battery
- Part 10. Why Lithium is the Best Deep Cycle Battery Type For RV
- Part 11. Conclusion
Part 1. Check the Wiring and Fuses
Inspect the wiring emanating from your RV converter, ensuring a thorough examination of each wire. Be observant for the following:
- Any loose or damaged wires
- Signs of melting or discoloration
- Exposed wires making contact with one another
If any loose connections are identified, secure them accordingly. Replace any wires that exhibit damage and assess if your RV batteries are now being charged.
Take this opportunity to inspect any inline fuses that may have blown and, if applicable, replace them promptly.
Note: Exercise caution when replacing fuses, ensuring that the amp rating remains consistent. The usage of a higher amp fuse could lead to overheating and the potential risk of fire within your RV.
Additionally, evaluate the condition of the wiring and fuses connected to your RV batteries. Are there any signs of fraying, looseness, discoloration, or interwiring contact? Have any inline fuses blown? Replace them accordingly.
In complex RV electrical systems, referring to a wiring diagram can prove beneficial, even though finding one may be challenging, if not impossible. Check your owner's manual or the manufacturer's website for the availability of such a diagram.
Part 2. Evaluate Battery Condition for Corrosion
Subsequently, we shall assess the battery terminals for notable signs of corrosion and confirm the secure attachment of battery cables to the battery posts.
Through my acquired knowledge, this tends to be a primary cause behind the cessation of power transfer to house batteries during the process of being plugged in.
Naturally, it is imperative to rectify any loose connections and eradicate visible signs of corrosion.
To effectively cleanse corroded battery connections:
Generate a dense mixture by combining two tablespoons of baking soda with an equal amount of water.
Disengage the power and ground wires from the battery terminals.
Scour the terminals and wire connections meticulously with the aid of a wire brush and paste, effectively eliminating the corrosive substances.
Subsequently, wipe the terminals thoroughly employing a paper towel.
Proceed to reconnect the power and ground wires to their respective battery terminals, ensuring a firm and secure connection.
Should your RV battery persist in its failure to charge, we may proceed to the next step.
Part 3. Inspect Circuit Breakers
Locate the fuse and circuit breaker panel within your RV, typically housed in the same compartment as the power converter.
Observe the presence of circuit breakers on the panel, akin to those you would find in a domestic setting. These breakers specifically control your RV's 120-volt system. To ascertain their functionality, physically ensure that none of the breakers have been tripped by gently touching them and confirming their correct positioning.
Tip: Consult your owner's manual or search for corresponding indications near the breakers themselves, indicating the purpose of each individual circuit breaker.
Within the same vicinity, you may also come across the RV's fuse box, resembling the fuses typically found in automobiles. Thoroughly examine these fuses to identify any that may have blown. If any burnt fuses are discovered, promptly replace them and assess whether your RV batteries resume their charging process upon being plugged in.
Should all the circuit breakers be appropriately set to the "on" position and the fuses remain intact, it is time to proceed to the subsequent step.
Part 4. Inspect the Battery Disconnect Switch
In numerous instances, recreational vehicles and fifth wheels are equipped with a battery disconnect switch positioned within the confines of the vehicle. Ensure that this switch is set to the "on" position.
To verify the presence of a battery disconnect switch and determine its specific whereabouts, it might be necessary to consult your owner's manual once more.
Part 5. Check the Battery's State
Subsequently, we must ensure that the root of the issue does not lie within the battery itself. It is plausible that your RV's charging mechanism operates efficiently, yet the battery fails to retain its charge.
The evaluation of your RV battery entails a straightforward process:
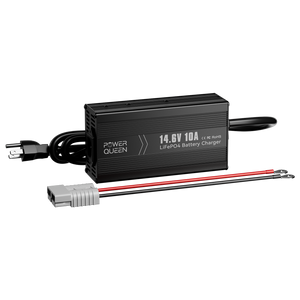
- Establish a connection between your battery and a battery charger to commence charging. In situations where access to a battery charger is unavailable during your journey, it might be conceivable to utilize your RV or tow vehicle's alternator for charging purposes, contingent upon the compatibility of your RV's setup.
- Employ the previously mentioned battery disconnect switch to disengage the battery from the system, effectively isolating it from the electrical network.
- Allow several hours to pass, following which you may employ a digital multi-meter or voltage meter to determine the battery's charge.
Should you observe a significant drain in the battery's charge within this brief interval, it is plausible that the battery itself is defective. Proceed to replace the deep-cycle battery and subsequently reevaluate your RV's charging system.
If the battery passes the assessment, we are left with a solitary troubleshooting step to undertake.
Part 6. Evaluate the Functionality of the Power Converter
Initially, verify if your power converter successfully generates a steady flow of 13+ dc volts. This can be accomplished by measuring the voltage at the battery while connected to a shore power source.
Utilizing a voltage meter, you should observe an approximate reading of 13.5 volts at the battery.
Disconnect your RV from the shore power and take another voltage measurement at the battery. At this point, a decrease in voltage should be evident.
This swift examination will ascertain the proper functioning of your converter.
If, regrettably, it fails to fulfill its intended purpose, various potential issues such as a malfunctioning cooling fan, a faulty thermal sensor, or a defective circuit board might be the cause.
It is not advisable for non-professionals to attempt to dismantle or tamper with the converter. Instead, it is strongly recommended to consult a certified RV technician who can proficiently rectify the issue by means of their expertise.
Part 7. Malfunctioning Resistors or Diodes
Resistors and diodes play a crucial role in converting the electrical source from AC to DC voltage. However, they are prone to failure when exposed to high temperatures. You can visually identify a burnt component on the circuit board as a sign of this. Unless you possess expertise in electrical systems, it is advisable to seek the assistance of a qualified professional to replace these faulty parts.
Part 8. Disruption in Shore Power Supply
Instead of hastily attributing the charging problem to your battery, it is essential to investigate the integrity of the power post, particularly when situated at an RV park. Power posts can also experience burnouts or damage, potentially impeding the charging process of your battery. Should you encounter a power post issue, it is imperative to inform the park management promptly, enabling them to address and rectify the problem.
Part 9. Maintainance Tips For Your RV Battery
If you are still utilizing the conventional lead-acid battery, regular maintenance is of utmost importance for ensuring its optimal performance. Consider implementing the following methods:
- Voltage measurements of a fully charged 12-volt battery typically register at 12.6 volts. At a 75% charge level, the reading would typically display 12.4 volts, while a battery charged to 50% would show 12 volts. To proactively extend the lifespan of your lead-acid battery, it is highly recommended to abstain from discharging it below the 50% threshold. In case your vehicle lacks a monitoring panel providing accurate voltage readings, the acquisition of a multi-meter to gauge the battery's charge level is advised.
- Make it a habit to periodically inspect the battery, diligently checking for any signs of corrosion. Ensure its pristine cleanliness, and always be certain that cable connections are firmly secured. Should you possess lead-acid batteries with serviceable cells, closely monitor the water level within the battery's fill wells, replenishing with distilled water as deemed necessary.
- Bear in mind that these batteries can undergo a self-discharge rate of up to 1 volt per month. Upholding the voltage readout above the 50% threshold will significantly contribute to an elongated battery lifespan. Keep the battery consistently connected to an external power source, duly charging it at regular intervals. In situations where this option is unavailable, or if you intend to store the battery, the utilization of a battery charger or a 12-volt solar charger can prove advantageous.
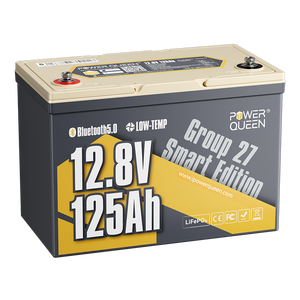
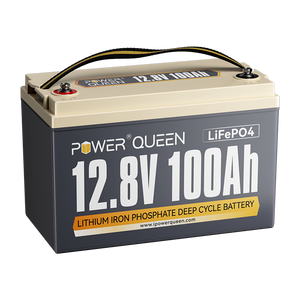
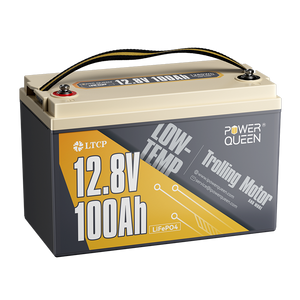
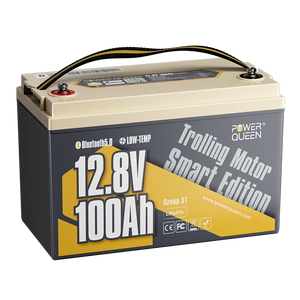
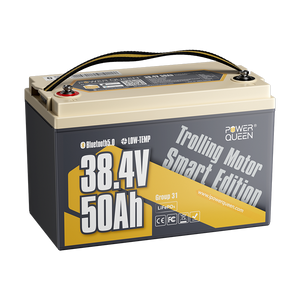
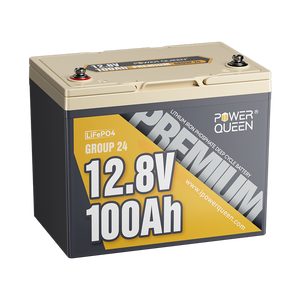
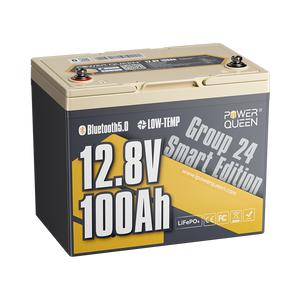
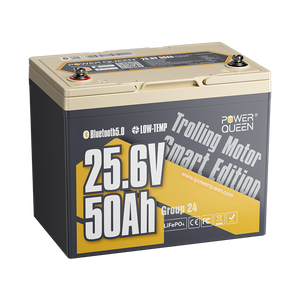
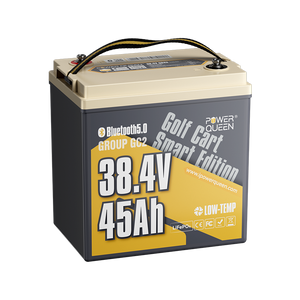
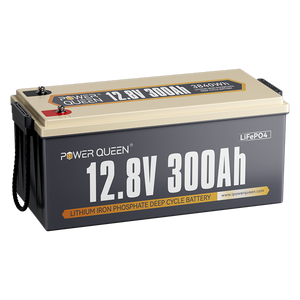
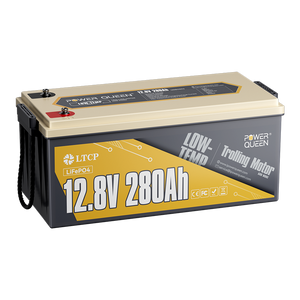
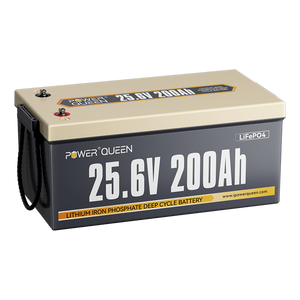
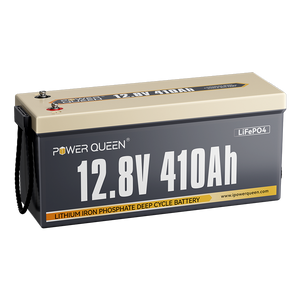
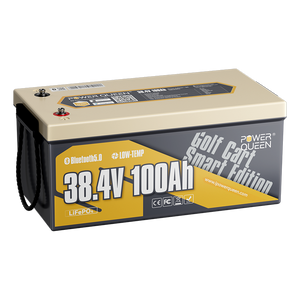
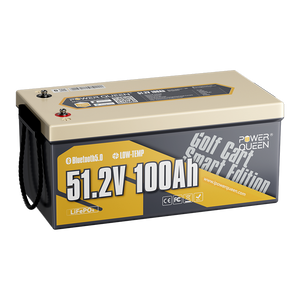
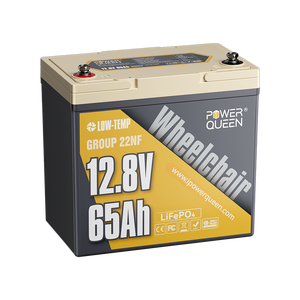
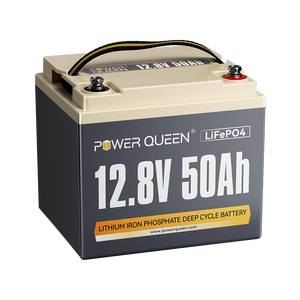
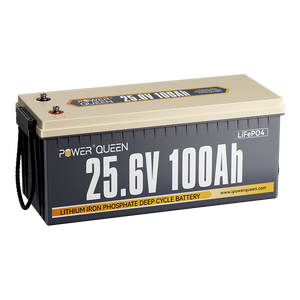
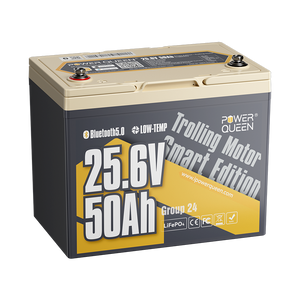
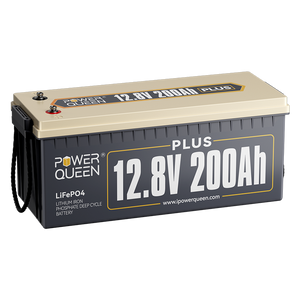
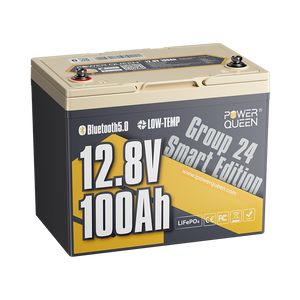
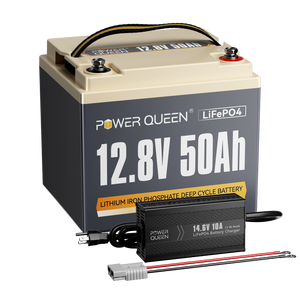
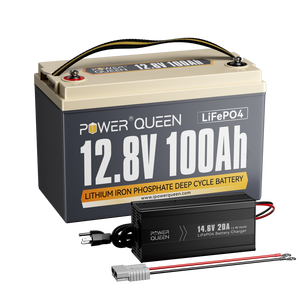
Consider upgrading your RV batteries to maintenance-free lithium iron phosphate (LiFePO4) batteries.
These batteries offer several benefits, including longer lifespan, faster charging times, and higher energy density. They are also lighter and more compact, making them an excellent choice for RV owners looking to reduce weight and maximize storage space.

![⚡[Final $179]⚡Power Queen 12V 100Ah Group 31 Deep Cycle Lithium Battery - Power Queen US](//ipowerqueen.com/cdn/shop/files/PQ-12.8V100Ah-A100_21a10dc3-c9ab-4eb3-8dfa-7978aa25240e.jpg?crop=center&format=webp&v=1767677891&width=400)
![⚡[Final $179]⚡Power Queen 12V 100Ah Group 31 Deep Cycle Lithium Battery - Power Queen US](http://ipowerqueen.com/cdn/shop/files/PQ-12.8V100Ah-A100_21a10dc3-c9ab-4eb3-8dfa-7978aa25240e.jpg?crop=center&format=webp&v=1767677891&width=400)
When using lithium batteries, it is essential to follow the manufacturer's guidelines for charging and maintenance. Unlike lead-acid batteries, lithium batteries do not require regular maintenance, such as checking water levels or cleaning terminals. However, it is still important to keep them clean and dry to prevent any potential issues. Learn more on how to charge and how to store LiFePO4 batteries.
Additionally, it is recommended to invest in a quality battery management system (BMS) specifically designed for lithium batteries. A BMS helps monitor and protect the battery from overcharging, over-discharging, and temperature fluctuations, ensuring its longevity and safety. All of Power Queen’s LiFePO4 batteries are equipped with BMS, they are safe to use.
Part 10. Why Lithium is the Best Deep Cycle Battery Type For RV
Lithium batteries are often considered the best deep cycle battery type for RVs for several reasons:
Energy Density: Lithium batteries have a significantly higher energy density than traditional lead-acid batteries. This allows them to store more energy in a smaller and lighter package, which is particularly advantageous given the limited space in an RV.
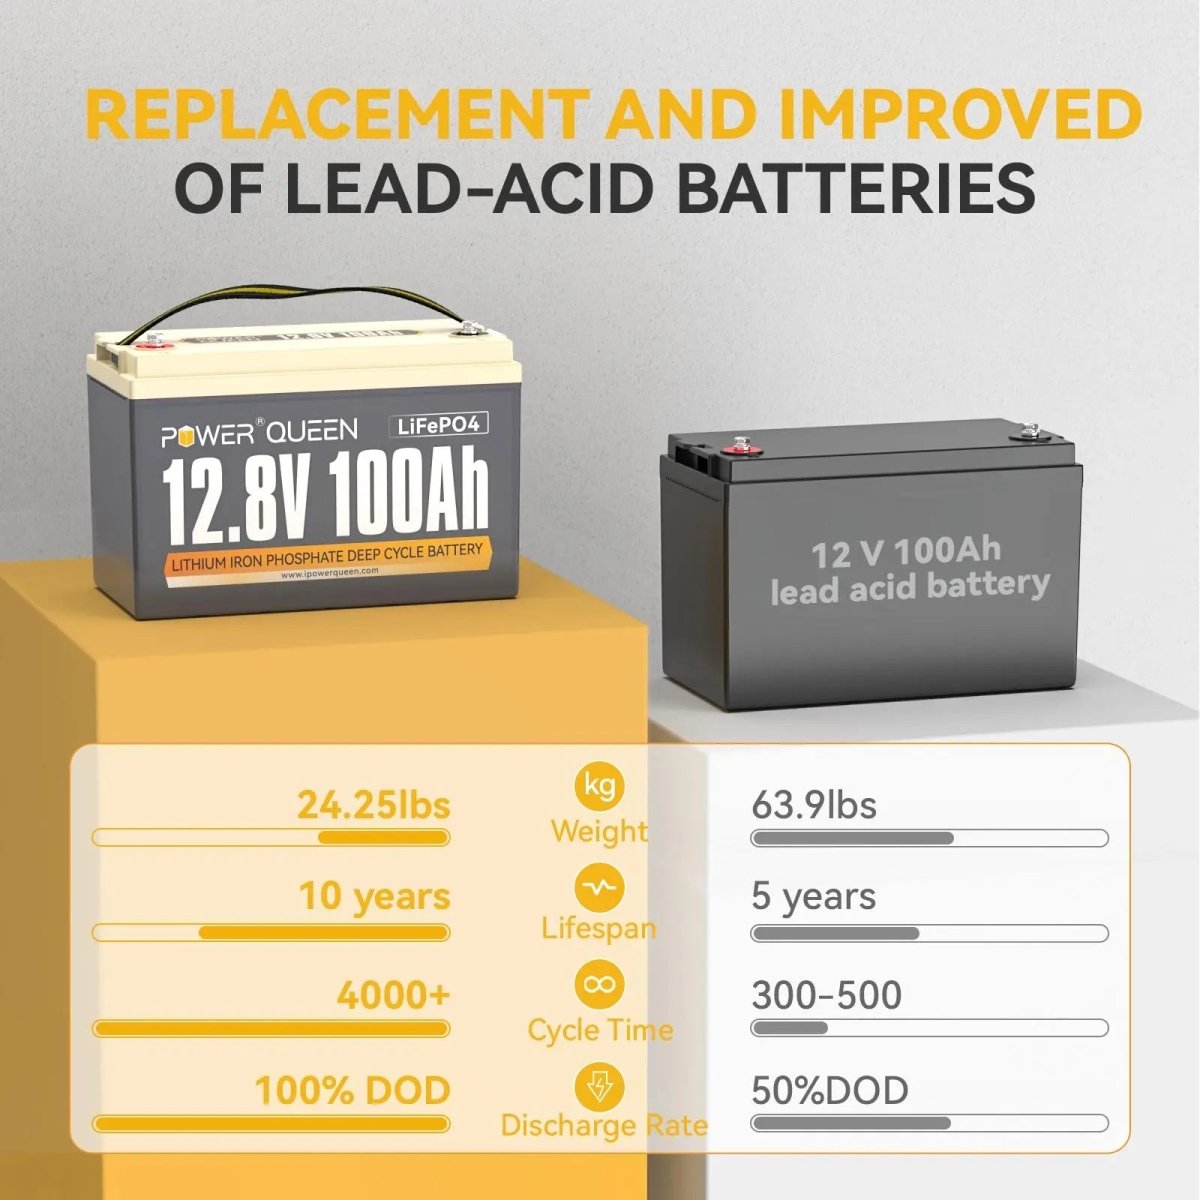
Depth of Discharge: Lithium batteries can be discharged to a much lower level (typically 80-90%) without causing damage, whereas lead-acid batteries should generally not be discharged beyond 50% to prolong their lifespan. This extended depth of discharge allows for more usable energy from the battery bank.
Longevity: Lithium batteries have a longer lifespan compared to lead-acid batteries. They typically offer a greater number of charge/discharge cycles, meaning they can last significantly longer before needing replacement. This longevity can result in lower long-term costs despite the higher upfront investment.
Fast Charging: Lithium batteries can be charged much faster than lead-acid batteries. This is beneficial when using solar panels, generators, or other common RV charging sources. For more information, consider reading: Can I Charge LiFePO4 Lithium Batteries with a Lead Acid Charger?
Weight: Lithium batteries are significantly lighter than lead-acid batteries with the same storage capacity. This reduces the overall weight of the RV, leading to better fuel efficiency and less strain on the vehicle's suspension and tires.
Maintenance: Lithium batteries require minimal maintenance compared to lead-acid batteries. They don't need periodic water refilling and are generally easier to manage.
Temperature Performance: Lithium batteries generally perform better than lead-acid batteries across a wider range of temperatures, both during charging and discharging. This is particularly important for RVs that encounter varying climates.
Compared to lead-acid batteries, lithium RV batteries offer numerous advantages. While the initial high cost can be a challenge for RVers, Power Queen addresses this by providing high-quality grade A cells at an affordable price. Enjoy the benefits of lithium batteries in your RV without breaking the bank.
Part 11. Conclusion
In conclusion, proper maintenance and responsible use of trolling motors and RV batteries are essential for minimizing our ecological footprint and protecting the environment.
By choosing energy-efficient motors, using rechargeable batteries, and avoiding idling, we can conserve energy and reduce emissions. Electric motors offer numerous benefits over gasoline motors, including lower emissions and noise pollution.
It is important to properly size the motor for efficient operation and dispose of old batteries responsibly to prevent environmental contamination. Regular maintenance, such as cleaning and securing connections, monitoring voltage levels, and considering upgrading to lithium batteries, can extend the lifespan and improve the performance of RV batteries.
