


4 Signs To Know If RV Converter Is Charging Battery
When traveling in your RV, keeping your battery properly charged is essential for a smooth and hassle-free journey. The RV converter plays a critical role in this process, but many RV enthusiasts struggle to determine if their converter is effectively charging the battery.
In this article, we'll explore the key indicators to help you assess whether your RV converter is functioning correctly.
Table of Content
- Part 1. Understanding the RV Converter and its Role in Charging the Battery
- Part 2. Indicators of a Charging RV Battery
- 2.1 Use a Multimeter
- 2.2 Monitor the Battery Monitor Panel
- 2.3 Listen for Fan Activity
- 2.4 Check for Proper Functioning of Appliances
- Part 3. Common Reasons Why Inverters Fail to Charge and Troubleshooting
- Part 4. Troubleshooting Steps for Non-Charging Inverters
- Part 5. Advanced Solutions for Inverters Not Charging
- Part 6. Bonus Tip: Upgrading RV Batteries to Lithium for Greater Performance
- Part 7. Conclusion
Part 1. Understanding the RV Converter and its Role in Charging the Battery
The RV converter is a device that transforms AC power from a shore power connection or generator into DC power to charge the RV's battery. It also supplies 12-volt DC power to the RV's electrical system when connected to shore power. This dual functionality makes it essential for the converter to operate efficiently.
Some RV converters include inverter chargers, which can convert 120V AC to 12V DC, unlike standard converter chargers that function as one-way charging systems.
Regardless of the type of charger your RV converter uses, power can be sourced from a generator, the RV's alternator, a solar panel, or shore power.
Part 2. Indicators of a Charging RV Battery
2.1 Use a Multimeter
One of the most reliable ways to determine if your RV converter is charging the battery is by using a multimeter. Connect the multimeter to the battery terminals and measure the voltage. If the reading is higher than the battery's resting voltage, it indicates that the converter is actively charging the battery.
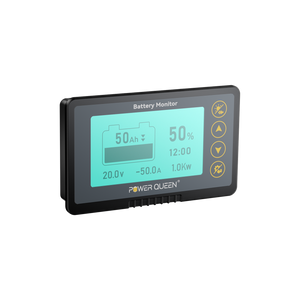
2.2 Monitor the Battery Monitor Panel
Many modern RVs come with a battery monitor panel that displays the battery's voltage level. When the RV is connected to shore power and the converter is charging the battery, you should see the voltage level on the monitor panel gradually rise.
2.3 Listen for Fan Activity
RV converters often feature built-in cooling fans that activate during heavy loads, such as battery charging. Continuous operation of the cooling fan while the RV is connected to shore power usually indicates that the converter is actively charging the battery.
2.4 Check for Proper Functioning of Appliances
When the battery is charging, you'll likely notice improved performance from your RV's electrical appliances. Brighter lights, a more powerful water pump, and better functioning of other electrical devices are signs that the converter is actively charging the battery.
Part 3. Common Reasons Why Inverters Fail to Charge and Troubleshooting
Inverters are crucial for converting DC power to AC power and are widely used in RVs, boats, and homes. However, they can encounter issues, especially with charging. Here, we'll explore the primary reasons inverters fail to charge: battery problems, malfunctioning charging systems, and overloading.
3.1 Battery Issues
One of the most common reasons an inverter fails to adequately charge the battery is due to a weak or completely discharged battery. If the inverter is connected to a battery that lacks sufficient charge or is entirely depleted, it cannot draw the necessary energy to power devices and appliances effectively. This can result in the inverter producing no output or behaving unpredictably.
To address this issue, it's crucial to monitor the battery's voltage using a multimeter. Most batteries used with inverters should maintain a standard voltage of 12 volts. Ensure all connections are tight and free from corrosion. If the voltage drops below the standard level or if there are signs of corrosion on the terminals or cables, consider recharging or replacing the battery.
3.2 Faulty Charging System
Insufficient charging in an inverter system can also stem from problems with its internal components. A compromised charging circuit can obstruct current flow to the battery, disrupting the charging process. Similarly, a malfunctioning charge controller may fail to regulate the charging procedure correctly. Conducting a thorough inspection of each component is essential to identify any that may need repair or replacement.
3.3 Overloading and Circuit Interruptions
Overloading and circuit interruptions can significantly affect the performance of a home inverter system. Overloading occurs when the inverter consumes more energy than its intended capacity, which can lead to failure or complete shutdown. Circuit interruptions typically happen when plug fuses blow or breakers trip in the distribution box, often due to overload or a short circuit. Properly managing the load on the inverter can help reduce these issues.
Part 4. Troubleshooting Steps for Non-Charging Inverters
4.1 Check Battery Voltage and Connections
Before inspecting other components, it's crucial to confirm the battery voltage and connections. Begin by powering down all electrical devices connected to the inverter and disconnecting any external power sources. Use a multimeter to check the battery voltage, which should ideally read between 12.6 and 12.8 volts when fully charged. Inspect the battery terminals and wires for corrosion, and clean these areas with a wire brush or sandpaper if needed.
4.2 Inspect Charging System Components
Verify that every component of your charging system operates correctly. Examine all fuses, wires, connectors, and switches in your charging setup. Replace any components showing signs of wear or damage.
Part 5. Advanced Solutions for Inverters Not Charging
If troubleshooting does not resolve charging issues, consider replacing faulty components like charge controllers. Alternatively, if the inverter has reached the end of its life cycle, replacing the entire unit may be necessary.
5.1 Upgrading Your Electrical System
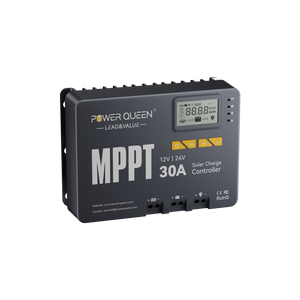
Enhance the electrical system by installing larger gauge wires between charging system components to reduce resistance and enhance electricity flow. Consider upgrading to a more efficient charge controller, such as MPPT instead of PWM, or adding an additional controller for high power demands. Investing in a smart charger can also optimize battery performance by preventing overcharging or undercharging.

Part 6. Bonus Tip: Upgrading RV Batteries to Lithium for Greater Performance
Are you tired of dealing with terminal corrosion or frequently adding water? Consider upgrading to lithium batteries for your RV. Lithium batteries provide several advantages over traditional lead-acid batteries, including a longer lifespan, faster charging times, and higher energy density. With lithium batteries, you can say goodbye to the hassle of regular maintenance tasks such as cleaning terminal corrosion and refilling water.
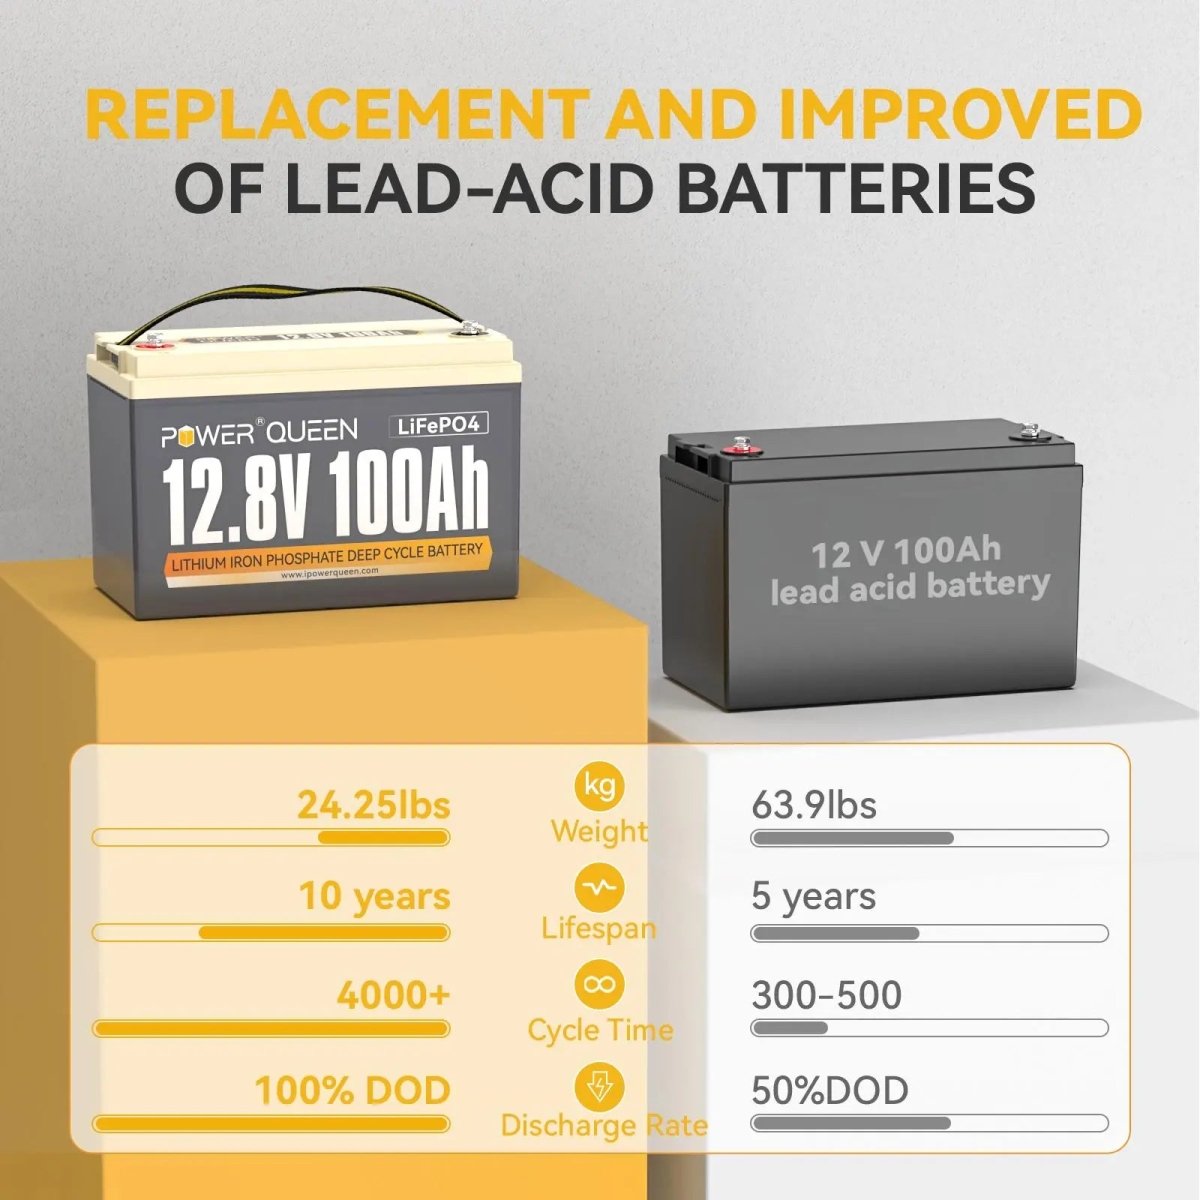
Additionally, lithium batteries are significantly lighter than lead-acid batteries, which can reduce your RV's overall weight, leading to improved fuel efficiency and better handling. They also offer a higher depth of discharge, allowing you to utilize more of the battery's capacity without causing damage, thereby providing more usable power.
While the upfront cost of lithium batteries is higher than that of lead-acid batteries, their long-term benefits, such as reduced maintenance and extended lifespan, often justify the investment for RV owners who rely heavily on their power systems.
Before switching to lithium batteries, ensure that your RV's charging system is compatible with them. Some older charging systems may not support lithium batteries, so consulting with a professional is essential to determine if any modifications are necessary.
Upgrading to lithium batteries can significantly improve your RV's power system performance and reliability, offering a more enjoyable and trouble-free travel experience.
Part 7. Conclusion
Ensuring that your RV converter efficiently charges the battery is crucial for a seamless and enjoyable travel experience. By following the methods outlined in this guide, you can accurately evaluate the performance of your RV converter. Regular maintenance and periodic checks will preemptively address potential issues and keep your RV's electrical system in peak condition, allowing you to fully embrace your adventures on the road.